12 hours before the event, I was still playing Sealed in Arena just to get a bit more practice and get familiarized with the set’s cards, and learn how to accept that this will be a set that’s greatly influenced by the bombs you pull. Later that day I learned Sealed is a test if skill rather than a test of luck.
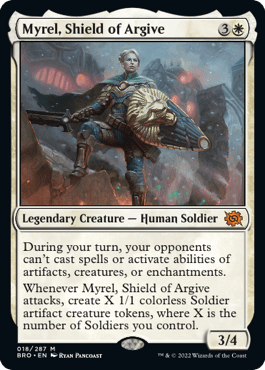

While choosing which pile to get for deck registration, I was still telling myself that I needed to get a bomb, or else I will be walking home reasonably early that day. While playing sealed in Arena, I kept the decks I built and compared which builds got me my money back, which ones didn’t win any games, and which were in between. I noticed that even in the pools where I got a Portal to Phyrexia or Myriel, Shield of Argive, I would not always win half my games.


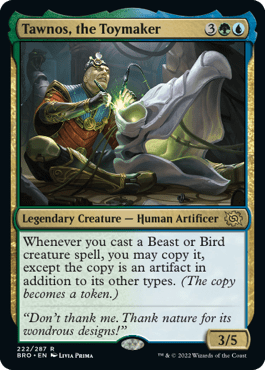
But I had a deck with a Tawnos, the Toymaker, and a couple of Beasts and Birds, and I won games without taking any damage. Though synergy is not easy to achieve in Sealed as compared to Draft, you can still make a deck that’s well put together as long as you look at your pool as one cohesive pool and not just a ranked pile of cards based on which color has more threats or more removal.
In this article, I won’t be talking about my decks since I can’t recall them anymore or my matches. But I will share what I learned through articles, podcasts, my practice runs in Arena, player feedback, and actual results that helped me bag my invite.
But firstly, thank you to all my opponents who made all my games interesting, fun, and exciting!

Let’s talk about Sorting. Taking inspiration from the card Strategic Planning, the first thing you do in any sealed pool is to sort your cards and determine which ones are playable, optional, or bad. Some do it by color or by card type. I do it via a 3×6 matrix (that’s 6 columns to represent each color including artifacts, by 3 rows representing card tiers 1 through 3).
| Red | Green | White | Blue | Black | Artifact | |
| Tier 1 – Definitely must play as it impacts the game immensely |  |  |  |  |  |  |
| Tier 2 – Can fill in gaps in the curve, or supplement other cards. This is usually where removal and card advantage comes in. | 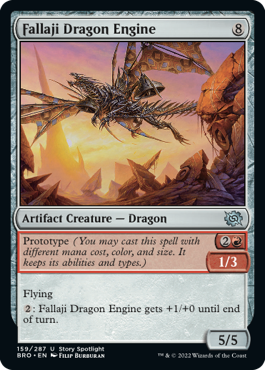 |  |  |  |  |  |
| Tier 3 – Rarely will I play this card. It has a very narrow application to some cards in the deck |  |  |  |  |  |  |
Essentially, I try to weed out the scraps that could divert my attention to playing the right color. You should avoid choosing a color solely because you have the most cards in that color. Quantity is never ever better than quality in Magic (e.g. Three 1/1s is worse than one 3/3).
Next is deck construction.
My default formula, of course, depends on the set you are playing. Some sets are very fast, while some take a while and only kick into high gear around turn 3. I see Brothers War as a Turn 2-3 set. Much of the 1 drop are disposable creatures but the real trades happen at turn 3 where people need to decide to put a big beater down as a prototype for board presence and lose their late game 5/5 Fallaji Dragon Engine to a small removal or old soak up some hits and play it for the real thing.
My simple formula is 14-16 creatures, 1-3 combat tricks, 2-4 removal, and 17 lands.

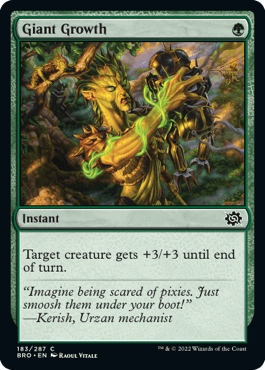

Combat tricks are not just limited to pump spells like Giant Growth but they can also be stealing a blocker with cards like Sibling Rivalry or Ashnod’s Intervention where you could lose your attacker or blocker, but you get it back after the trade.
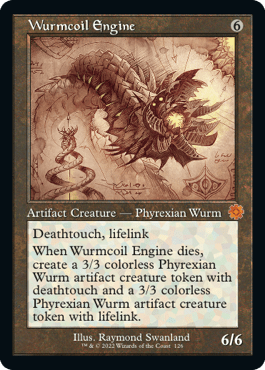
Removal is also not just about killing a creature or destroying a target. Shutting it down, or disabling it and therefore making it less of a threat is also considered removal. Fighting is another way of removing but just make sure you have the bigger fighter or else you lose your creature as well. Deathtouch on creatures can also seen as indirect removal which deters your opponent from swinging in with their 8/8s only be to be blocked by a 1/1 deathtouch.
Now let’s talk about color.
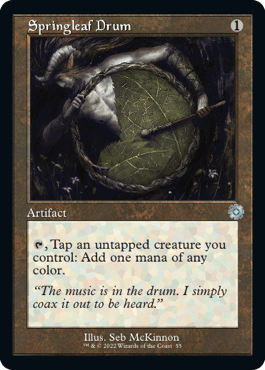
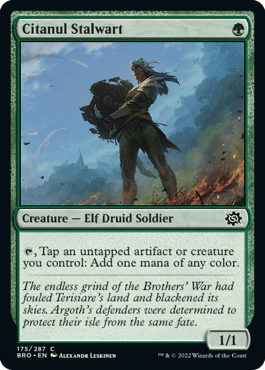
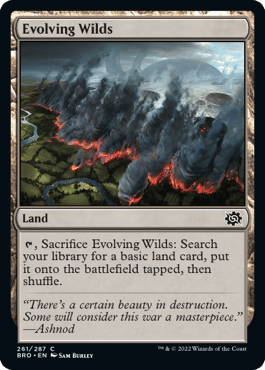
I see many people do a great job building 3 and 4-color decks but it’s a risk they are happy to take. In sets that offer a lot of color fixing like Ravnica via the Gates, or Ikoria via the Triomes, that’s a bit more acceptable. But for Brother’s War, for example, we have very few options outside a reprint of Springleaf Drum, Citanul Stalwart, and Evolving Wilds.
The general rule of thumb is to stick with 2 colors and apply the principle of compliments. This means, picking a strong color as your primary color, then picking the next best color that fills in the weaknesses of your primary color. Let’s say you have Green as your primary color which you draw a lot of your threats. Then you will need removal or combat tricks to keep them on the battlefield or trade better, so you can consider going Red or Black and check if they have the cards you need.
Going mono color or just 1 color is not advisable in Sealed because your pool may not always offer 23 quality cards in a single color that also has the right curve distribution, threat density, removal, and utility cards.
If you are going three colors and more, consider only a splash (off-color cards only requiring one off-color to cast (1R vs. 2RR) and these cards should not define the quality of your games. Putting your Teferi in your Black White deck because you think he’ll win you the game by himself is a recipe for 0W-3L records. You might end up not having double Islands to put him in the game at the right time, or worse you end up with double Islands but have a ton of Black and Green spells stuck on hand. And not being in green where you have the most chances of fixing your mana will only make casting Teferi even more impossible.
On to Curve.
The curve is the concept of having the right card distribution across the progression of your mana base. In other words, it’s your ability to play your cards at the right turn.
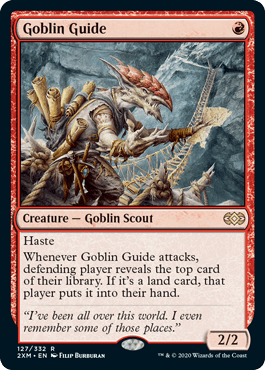


A good way to illustrate this is with an aggressive deck like Red Deck Wins. Playing a Goblin Guide into an Eidolon of Great Revels into a Rampaging Ferocidon is a good aggressive curve that severely punishes an unprepared opponent that kept no removal in their opening hand.


Some decks break the curve by skipping a step through the use of mana accelerators. Magic game designers typically limit a card’s power based on when you can play them. By ‘cheating the curve’, you can sometimes play threats designed for much later in the game at earlier turns putting the opponent against the corner trying to survive the power disadvantage. An example here is playing Llanowar Elves on turn 1 and on turn 2, you’d have 3 mana thanks to two lands and play Steel Leaf Champion. Comparing it to the Mono Red’s turn 2 play which is a 2/2 for 2, you have a 5/4 creature that can’t be chumped. Then comparing the Red’s turn 3 play which is a 3/3 menace, you can put a 4/4 Vigilance, Deathtouch, and Haste creature that can swing together with your 5/4 Champion.
Though we don’t get this type of curve design in Sealed, we can still apply the same principle of having the right number of spells at the right turn so you can deploy them on time and not fall behind.


In Brother’s War, I mentioned that the set to me looks like a turn 3 set. Meaning the higher quality creatures usually come down on turn 3. So you want to make sure you have something to do on turn 3. If not, you will almost always be behind especially if you’re on the draw.
If you want to achieve this, you want to make sure that the first 9 cards of your deck (or 10 if you’re on the draw) contain a 3 drop. To make that happen, applying very simple math means you need around four 3-CMC cards in your 40-card sealed deck to draw at least 1. Now that’s if God was the one shuffling your deck for you. Bumping that up a bit to 6 copies might be more realistic. However, you don’t want that many 3 drops because you don’t want to draw them on turn 7 when your opponent is already playing their 5/5s and 6/6s on those turns and you’re still churning out 2/3 and 3/3s.

Above is an oversimplified illustration of curves depending on the deck you’re building. If your pool offers a ton of small effective creatures supplemented by mana-efficient combat tricks, then take the Aggressive curve. But if your pool has a ton of cheap removal but your threats don’t come until turn 4, then go take the Control curve.
Take note when slotting removal. A 4CMC removal like Shoot Down is not placed in Curve 4. Why? Because you will not necessarily play it on your turn 4 if there are no relevant targets for it. If you’re on the play, you may only see the target when you go into your turn 5 after your opponent plays their turn 4 threat. So my personal practice is to slot your removal on the next higher curve.
The last lesson I’d like to impart, which I think is the most important one even if you forget everything you just read, should be your one key takeaway. NEVER BUILD YOUR DECK FROM THE BOMB DOWN. The best approach is to build from the BOTTOM UP TO YOUR BOMB.

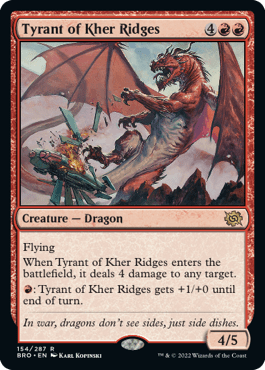


Let’s say you opened up the cards above as your rares from your 6 BRO packs. At the onset, Tyrant of Kher Ridges and Titania’s Command is definitely a must-play. Who can say no to so many options including mana fixing, creature creation, and a body with removal?
But upon checking, your black and blue cards have better quality creatures like 3-mana 2/3s and 4 mana 2/4s compared to your red cards where you have 2 mana 2/1s and 3 mana 3/2. Before you get to reach 6 mana to play your Dragon, you may not have the board presence to attack and have enough blockers to not die to the backswing. You may also not have enough creatures to pump with your Titania’s Command and you end up gaining life instead of pumping creatures because your opponent already has lethal in the air or has evasion to go around your bears.
Always check first if your pool has the cards that will allow you to build up to your bomb so that even in the games that you don’t draw your bomb, you can still play a decent game of Magic and win. Over-reliance on your bomb to win games can be punished because you’ll probably only get to draw your bombs 20-30% of the time.
Remember, it’s better to say “Oh nice, I drew my bomb but I’m winning already anyway” in your head rather than “I need to draw my bomb, or else I’m dead”.
Till next time,
Vanson

Leave a comment